
Your favorite pan turned into a sticky nightmare again? Eggs refuse to slide. Pancakes leave half their life behind. That once-slick surface now grips food like it has a personal grudge.
I’ve been there more times than I want to admit. One day the pan works great. The next, you’re scrubbing like you’re training for a sport. Then I tried the salt method that keeps popping up everywhere. Simple. Cheap. Weirdly effective for a lot of people.
Here’s exactly how I do it, what actually happens, and the stuff nobody tells you upfront.
Why Your Pan Stops Being Non-Stick
Non-stick coatings don’t last forever. Heat, metal utensils, dishwasher cycles, and leftover oil all take a toll. Tiny scratches appear. Residue builds up. The surface gets rough on a microscopic level. Food finds every little spot to cling to.
Even good pans lose their edge after a couple of years of regular use. You don’t need to trash it right away though. Sometimes a deep clean plus a little heat treatment brings it back for a while.
Salt does two useful things here. It acts as a mild abrasive that lifts stuck-on gunk without the harshness of steel wool. Heating the salt also helps dry out the surface and loosen whatever film is sitting there. Some people swear it helps “reset” the feel of the coating.
Does it permanently fix a destroyed pan? No. But for mild to moderate sticking, it often buys you more usable time.
What You’ll Need
Keep it basic:
- Your sticky pan
- Dish soap
- Soft sponge or cloth (no scouring pads)
- Table salt (regular fine salt works best for this)
- Paper towels or a clean kitchen towel
- Stove
That’s it. No fancy products. No special tools.
Step-by-Step: The Salt Method That Actually Gets Results
1. Clean the pan thoroughly first
Wash the pan with warm soapy water and a soft sponge. Get every bit of old oil and food residue off. Rinse well. Dry it completely. Any leftover moisture or grease messes with the next steps.
I usually do this twice if the pan looks particularly grimy. Better safe than sorry.
2. Heat the empty pan
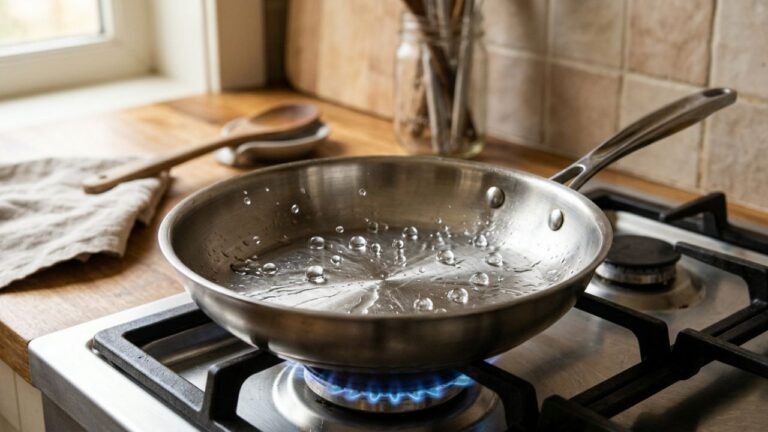
Put the clean, dry pan on the stove over high heat. Let it get very hot. You’re looking for that point where a drop of water would sizzle and vanish almost instantly. This usually takes 1–2 minutes depending on your burner and pan thickness.
Don’t walk away. Watch it. Non-stick coatings hate extreme prolonged heat, so stay close.
3. Add the salt
Pour enough table salt to cover the bottom of the pan in an even layer. Shake the pan gently so the salt spreads out. You want a solid blanket, not sparse patches.
4. Let the salt cook
Keep the heat on. Watch the salt. Over a few minutes it will start turning from white to a light golden brown, almost like brown sugar. That’s your cue. Some people go a bit darker, but golden is the sweet spot most descriptions aim for.
You’ll notice a toasty smell. That’s normal. If it starts smoking heavily or smelling burned, pull it off sooner.
5. Dump and wipe
Carefully pour the hot salt into the trash or sink (some people say the salt even helps clean the sink a bit). Use a damp paper towel to wipe out any leftover salt. Be careful—the pan is still hot.
Let the pan cool a bit if needed, then give it one final wipe.
6. Test it
Add a little oil or butter and try cooking something simple like an egg. If the method worked, the egg should release much more easily than before.
I’ve done this on a couple of older non-stick skillets that were starting to frustrate me. The difference wasn’t magical every single time, but it was noticeable. Food slid better. Cleanup got easier for a stretch of weeks.
Why This Works (And When It Doesn’t)
The salt provides gentle abrasion while the heat helps break down residual oils and films that make the surface sticky. Cleaning that layer away can restore some of the original slick feel.
It works best on pans that still have most of their coating intact. If the non-stick surface is peeling, flaking, or deeply scratched, salt won’t save it. Time to replace that one.
FYI, results vary by pan brand, age, and how badly it’s been treated. Some people get months of better performance. Others notice improvement for a few cooks. IMO it’s worth the five minutes of effort either way.
Tips for Different Types of Pans
Standard non-stick (Teflon-style or similar):
This is the method most viral videos show. Stick to medium-high rather than screaming high heat if your pan is thinner. Overheating can shorten the remaining life of the coating.
Ceramic non-stick:
Same basic process, but go a little gentler on the heat and the amount of time the salt sits. Ceramic can be more sensitive.
Cast iron or carbon steel:
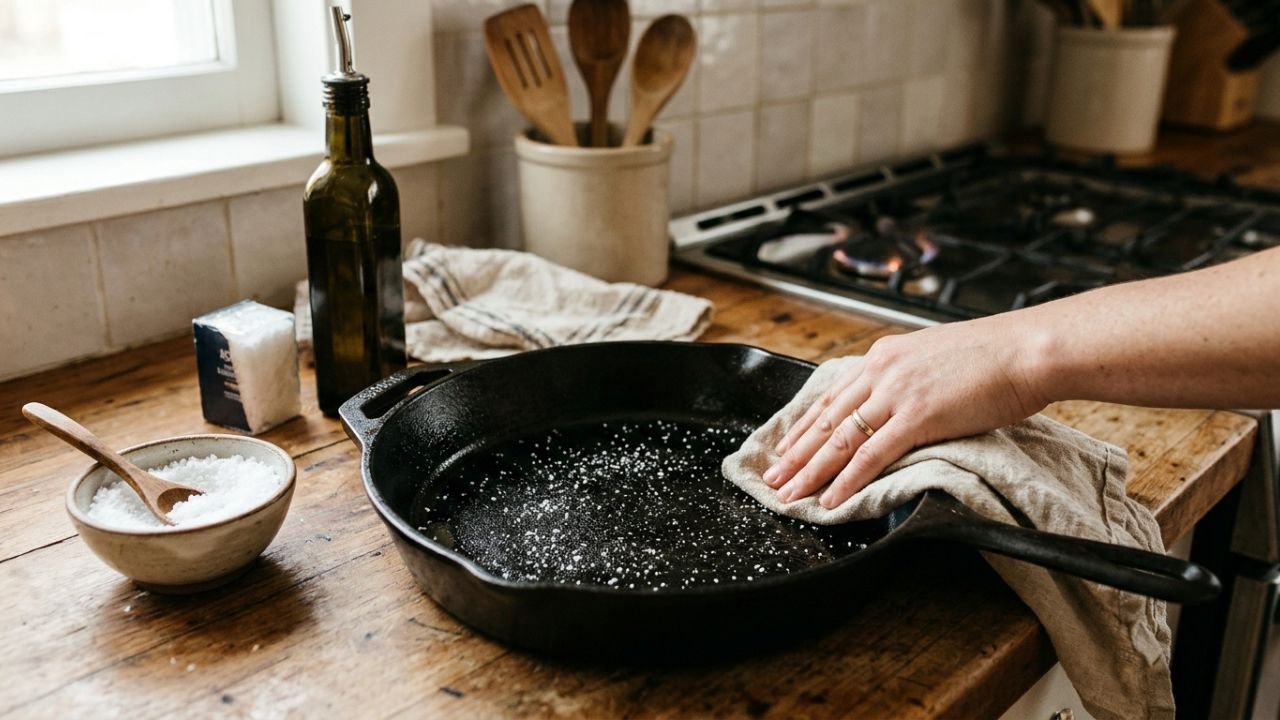
Salt has a longer history here. Many cooks heat salt in these pans as a cleaning step or as part of maintaining the seasoning. You can follow a similar heat-and-salt approach, then wipe and apply a thin layer of oil afterward. These pans respond really well to this kind of care.
Stainless steel:
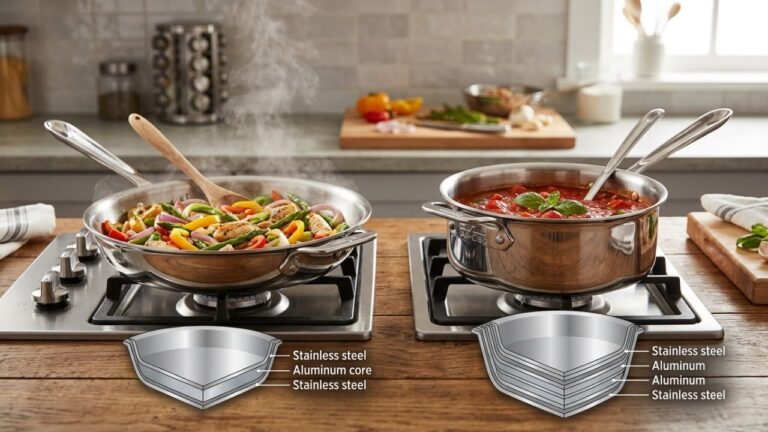
Salt can help with cleaning and can play a role in some oil-and-heat seasoning tricks, but pure non-stick behavior on stainless comes more from proper preheating and fat management than from salt alone.
Common Mistakes That Kill the Results
- Skipping the initial wash. Dirty pans don’t respond well.
- Using too little salt. You need coverage.
- Walking away while the salt heats. Timing matters.
- Scrubbing with anything abrasive after. Soft cloth only.
- Expecting permanent results. This is a refresh, not a rebuild.
Also, never use metal utensils on restored non-stick. That undoes the progress fast.
How to Keep the Non-Stick Feeling Longer
Once you get the pan working better, protect the improvement:
- Cook on medium heat more often than high.
- Use a little oil or butter even on non-stick.
- Avoid cooking sprays that leave sticky residues.
- Hand wash with soft tools and dry right away.
- Don’t stack other pans directly on the cooking surface.
A light oil wipe after washing and drying can help maintain the surface too. Just a tiny bit, then wipe most of it off.
Other Methods Worth Knowing
The salt trick isn’t the only option.
Some people clean with baking soda paste, then heat and lightly oil the pan. Others swear by the potato-and-salt scrub for certain metal pans. For stainless, the classic approach is heating to the point where water beads and dances (Leidenfrost effect), then adding fat.
If your pan is beyond saving, look at higher-quality options next time. Better coatings and thicker construction last longer. But that’s a conversation for another day.
A Few Personal Notes from Testing This
I first tried the salt method on a mid-range non-stick skillet that had started sticking every time I made eggs. After the process, the first egg slid around almost like the pan was new. It wasn’t perfect forever, but it gave me another couple of months of decent performance before I eventually replaced it.
Another time I used it on a cheaper pan that was already pretty scratched. Improvement was mild. Food still stuck a bit, just less aggressively. So honesty time: the better the starting condition of the pan, the better the results.
The whole process takes under 10 minutes once you know the steps. No special skills required.
FAQs About Making a Pan Non-Stick with Salt
Does the salt method actually work?
Yes, for a lot of people it does. It works best on pans that still have most of their coating intact and just feel sticky from residue or mild wear. I’ve seen eggs slide better right after doing it. Results vary though. A heavily scratched or peeling pan usually needs replacing instead.
How long do the results last?
It depends on the pan and how you treat it. Some folks get a few weeks of better performance. Others notice improvement for a couple of months. Keep cooking on medium heat, avoid metal utensils, and hand-wash gently if you want the effect to stick around longer.
Is this safe for regular non-stick pans?
Most people do it without issues when they keep the heat reasonable and don’t leave the pan blazing hot for too long. Non-stick coatings don’t love extreme heat, so stay nearby and pull the pan once the salt turns golden. If your pan is already flaking, skip this and just replace it.
Can I use sea salt or kosher salt instead of table salt?
Table salt works best for this hack. The fine grains cover the surface evenly and heat more consistently. Coarse salt can work in a pinch, but it takes longer and doesn’t spread as smoothly. Stick with regular table salt if you have it.
What if the salt never turns golden brown?
Your heat might be too low or the pan isn’t getting hot enough. Give it another minute or two. If nothing changes, the pan may not be conducting heat well or there’s still moisture left from washing. Dry it completely next time and try again on a slightly higher setting.
Does this work on cast iron or stainless steel?
It can help clean both. On cast iron, heating salt is an old trick for removing stuck food and refreshing the surface. Many people follow it with a light oil wipe afterward. Stainless steel benefits more from proper preheating and fat than from salt alone, but the salt can still scrub away residue.
Will the salt scratch my pan?
Fine table salt is mild. It acts more like a gentle abrasive than sandpaper. Avoid scrubbing hard with the salt itself. Just let the heat and the salt do the work, then wipe it out. Soft cloth or paper towel only after that.
Can I pour the hot salt down the sink?
Plenty of people do. Some even claim it helps clean the drain a bit. If you’re worried about your pipes, dump it in the trash instead. Either way works.
How often should I repeat this?
Only when the pan starts sticking again. Doing it every week is overkill and unnecessary heat on the coating. Treat it like a refresh, not a weekly routine.
What should I do if the method doesn’t help?
Try a deeper clean with baking soda first, then repeat the salt steps. If food still sticks badly, the coating is probably worn out. Time for a new pan. No amount of salt fixes a surface that’s already peeling or deeply damaged.
Do I need to oil the pan afterward?
Not required, but a very light wipe with oil after the pan cools can help. Just a tiny bit, then wipe most of it off so nothing feels greasy. Some people skip this and still get good results.
Got another question about the salt trick? Drop it and I’ll answer straight.
Final Thoughts
Sticky pans are annoying. They waste food and turn simple cooking into a chore. The salt method gives you a quick, low-cost way to fight back. Clean the pan, heat it, cover with salt until it turns golden, dump, wipe, and test.
It won’t resurrect a completely ruined coating. But for many everyday pans that are just starting to misbehave, it works well enough to notice.
Give it a shot the next time your eggs refuse to cooperate. You might be surprised how much better the pan behaves afterward. And if it only buys you a few more good months, that’s still a win.
Now go grab that salt and reclaim your skillet. Your breakfast will thank you. 🙂