
You know that moment when you stare at your favorite non-stick pan and wonder how it got so gunky? Yeah. Me too. Stuck-on eggs. Burned sauce. That weird brown film that refuses to leave. You try the soft sponge. Nothing. You try dish soap. Still nothing. Suddenly you’re eyeing the steel wool and thinking dangerous thoughts.
Stop right there.
I learned the hard way that non-stick coatings hate aggressive scrubbing. One rough session and the slick surface starts peeling. Then everything sticks worse. Fun cycle, right?
Here’s the good news. Baking soda fixes most of this mess without wrecking the coating. It’s cheap. It’s already in your kitchen. And it works surprisingly well when you do it right.
I’ve cleaned dozens of non-stick pans this way over the years. Some looked hopeless. Most came out looking almost new. So grab that box of baking soda and let’s talk through the whole process like we’re standing in my kitchen.
Why Non-Stick Pans Get So Gross in the First Place
Non-stick pans promise easy cooking and easy cleanup. Reality hits different. High heat, oil that burns, food that sits too long—all of it leaves residue. Over time that residue builds into a sticky, discolored layer.
Ever notice how eggs start sticking more after a few months? That’s not just bad luck. Tiny bits of burned food and polymerized oil create a rough surface. The non-stick coating still works, but the gunk on top of it ruins the experience.
Harsh cleaners or metal scrubbers make it worse. They scratch the coating. Once scratched, food sticks even more. You end up buying a new pan sooner than you should.
Baking soda steps in as the gentle middle ground. It lifts the gunk without attacking the coating. Pretty smart for something that costs almost nothing.
Why Baking Soda Actually Works on Non-Stick Surfaces
Baking soda (sodium bicarbonate) is a mild abrasive. It also has a slight alkaline quality that helps break down greasy residues and burned-on food.
Unlike scouring powders or steel wool, it doesn’t dig deep scratches into the non-stick layer when you use a soft sponge. The fine particles loosen the stuck stuff so you can wipe it away.
I tested this against a few other “gentle” methods. Vinegar alone sometimes helps with mineral spots but does little for baked-on oil. Dish soap works for fresh messes but struggles with older ones. Baking soda handles both better in most cases.
Is it magic? No. But it gets the job done without drama. IMO, it’s one of the most underrated kitchen hacks out there.
What You Need (Almost Nothing Fancy)
You don’t need special tools. Here’s the short list:
- Baking soda (the regular box from the baking aisle)
- Warm water
- Soft sponge or non-scratch scrubber
- Soft cloth or paper towels
- Optional: white vinegar or a drop of dish soap
- Optional: wooden or silicone spatula for gentle scraping
That’s it. No fancy cleaners. No expensive kits. Just stuff you already own.
Step-by-Step: The Paste Method (My Go-To)
This is the method I use most often. It works on light to medium buildup and on those annoying brown stains.
1. Cool the pan completely. Never put a hot non-stick pan under cold water. Thermal shock can warp it or damage the coating. Let it sit until it’s room temperature. Patience pays off here.
2. Rinse off loose debris. Hold the pan under warm water and wipe away anything that comes off easily. Use your fingers or a soft sponge. Skip the scrubbing for now.
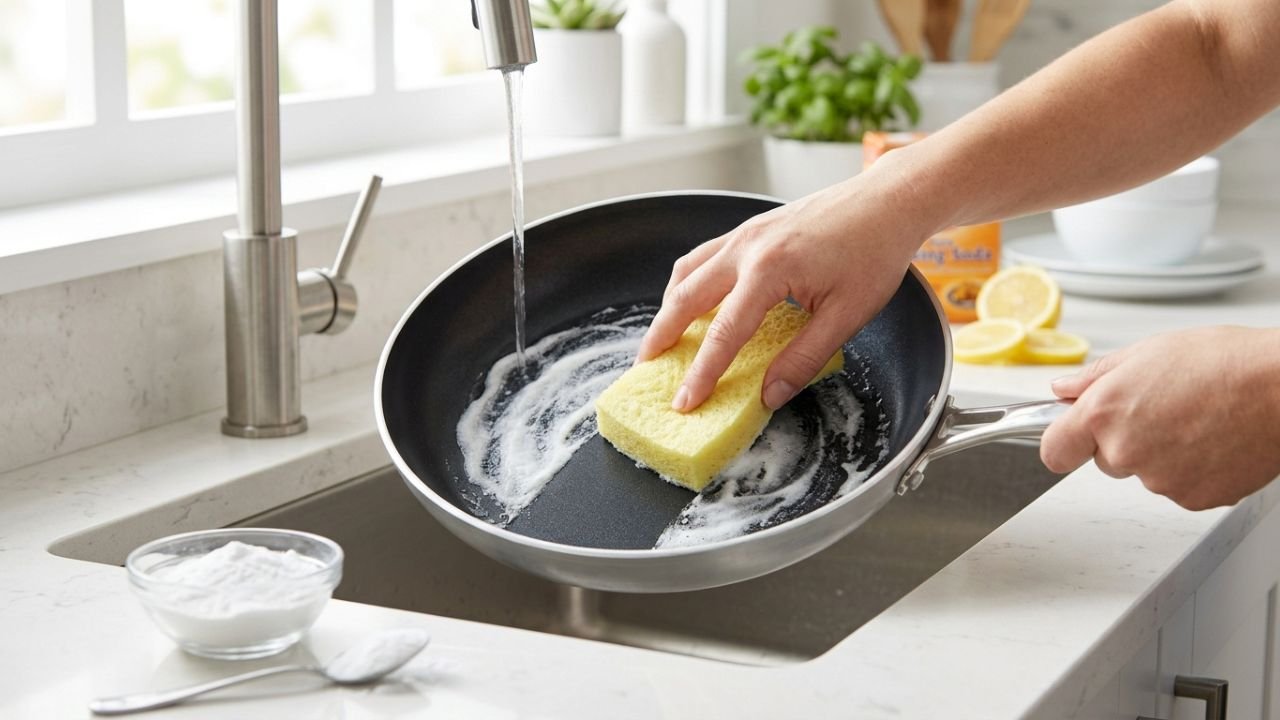
3. Make a thick paste. Mix about 3 tablespoons of baking soda with enough water to form a spreadable paste. Think toothpaste consistency—not runny, not dry. You want it to stick to the surface.
4. Spread the paste. Coat the problem areas generously. Focus on the stuck-on spots and any discoloration. Cover the whole cooking surface if the pan looks uniformly sad.
5. Let it sit. Leave the paste on for 15–30 minutes. For really stubborn messes, go up to an hour. The baking soda needs time to loosen the gunk. Walk away. Make coffee. Check your phone. Don’t rush it.
6. Gently scrub. Grab your soft sponge. Work in small circles with light pressure. You’ll feel the residue start to lift. If something feels stuck, add a little more paste and keep going gently. Never press hard enough to feel resistance against the coating.
7. Rinse thoroughly. Wash away all the paste and loosened food with warm water. Check the surface. If some spots remain, repeat the paste step on those areas only.
8. Dry right away. Wipe the pan dry with a soft cloth. Moisture left sitting can lead to water spots or slow corrosion on the exterior over time.
That’s the basic process. Most pans look dramatically better after one round. Really neglected ones might need two sessions.
The Boil Method for Tougher Cases
Sometimes the paste isn’t enough. Burned-on sugar or thick oil layers need extra heat and time. That’s when I switch to the boil method.
1. Fill the pan. Add enough water to cover the bottom by about an inch. Sprinkle in 2–3 tablespoons of baking soda. Stir so it dissolves a bit.
2. Bring it to a simmer. Place the pan on the stove over medium heat. Let the mixture heat until small bubbles form. Don’t let it boil hard. Gentle simmer is the goal.
3. Let it work. Simmer for 10–15 minutes. Watch as some residue starts floating off. The heat plus baking soda softens the stuck layers.
4. Cool and scrub. Turn off the heat. Let the pan cool until you can safely handle it. Pour out the water. Use your soft sponge on the remaining bits. Most of the mess should wipe away easily now.
5. Finish with a quick paste if needed. Any leftover spots get the paste treatment from earlier. Then rinse and dry as usual.
I used this on a pan that had survived a failed caramel experiment. The boil method saved it. The paste alone would have taken forever.
Extra Tricks That Make a Real Difference
A few small tweaks improve results.
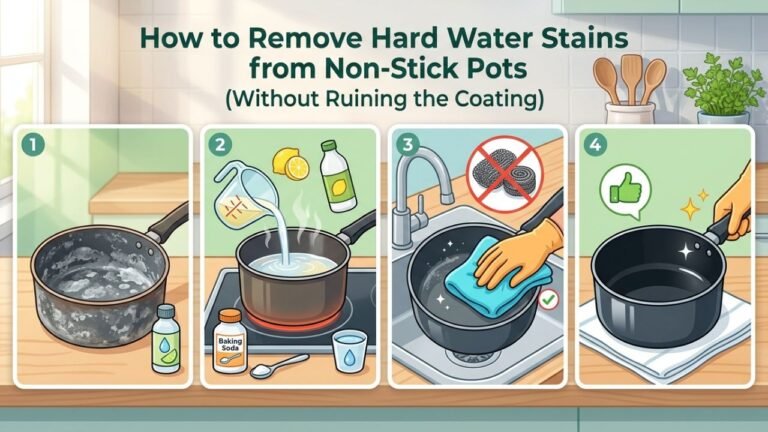
Add a splash of white vinegar to the paste for extra cleaning power on mineral deposits or hard water stains. The slight fizz helps lift stuff. Just don’t go overboard—too much acid isn’t ideal for every non-stick surface long-term.
For exterior stains on the outside of the pan, the same paste works. The outside often takes more abuse from stove flames and overflows. Scrub gently there too.
If the pan has a wooden or plastic handle, keep the paste away from it. Wipe those parts with a damp cloth instead.
After cleaning, some people like to re-season lightly. Warm the pan on low heat for a minute, add a tiny drop of oil, and wipe it around with a paper towel. This can help restore some slickness. Not every manufacturer recommends it, so check your pan’s care instructions first.
Common Mistakes That Ruin Non-Stick Pans
I’ve made most of these. Learn from my pain.
Using metal utensils or scouring pads. Even once can create scratches. Food sticks in those scratches forever after. Stick to silicone, wood, or plastic tools.
Cooking on high heat all the time. Non-stick coatings break down faster under extreme heat. Medium or medium-low usually does the job just fine for most foods.
Stacking pans without protection. The bottom of one pan scratches the cooking surface of another. Use pan protectors or a soft cloth between them.
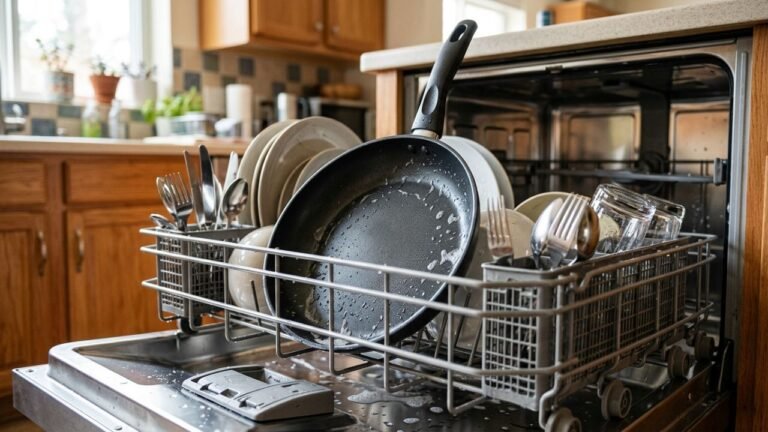
Putting non-stick in the dishwasher. Many coatings hate dishwasher detergent and high heat cycles. Hand washing keeps them happier longer.
Ignoring the manufacturer’s instructions. Some modern non-stick pans have specific care rules. A quick look at the label or website saves headaches.
Baking soda is gentle, but aggressive scrubbing with it still risks damage. Light pressure only.
How to Keep Your Non-Stick Pan Cleaner Longer
Prevention beats deep cleaning every time.
Wipe the pan while it’s still warm (not hot) after cooking. A quick rinse and soft wipe removes most fresh residue before it hardens.
Use a little oil or butter even on non-stick. It helps food release and reduces direct contact that causes sticking.
Avoid cooking sprays that contain lecithin or other additives. Some leave a sticky film that builds up fast. Regular oil works better for many people.
Store the pan properly. Hang it or place it with a soft barrier if you stack.
Clean it regularly with the baking soda method instead of waiting until it’s a disaster. A light session every few weeks keeps big cleanups rare.
I started doing a quick paste clean once a month on my most-used pans. They stay nicer and last longer. Small habit, big payoff.
When Baking Soda Isn’t the Answer
Baking soda handles a lot, but not everything.
If the non-stick coating is already peeling or flaking, no amount of cleaning fixes that. Time for a new pan. Continuing to use a damaged one can leave bits of coating in your food.
Deep scratches or warped bottoms also signal replacement time. Cleaning won’t fix physical damage.
For certain stains like rust on the exterior (rare but possible on some pans), you might need different approaches. Baking soda helps mild cases, but severe rust needs more attention.
If your pan has a ceramic non-stick coating versus traditional PTFE, the same gentle methods usually apply. Still avoid anything abrasive beyond baking soda paste.
How Long Will This Take?
A light clean takes about 20–30 minutes of active time plus sitting time. A heavy clean with the boil method might stretch to 45 minutes. Most of that is waiting, not scrubbing.
Compare that to buying a new pan every year or two. The time investment is worth it. Plus you feel like you actually fixed something instead of just replacing it.
I used to replace non-stick pans more often than I wanted to admit. Once I got consistent with baking soda cleaning and better habits, the same pans lasted years longer. My wallet noticed.
A Few Safety Notes Worth Mentioning
Baking soda is food-safe and non-toxic. That’s part of why I like it. Rinse well so no gritty residue stays behind.
Never mix baking soda with strong acids or cleaners in ways that create unexpected reactions in large amounts. The small amounts we use here are fine.
Keep the pan’s temperature reasonable during the boil method. Extreme heat can still stress the coating even with water in the pan.
If your pan has any manufacturer warnings against certain cleaners, respect those. Most are fine with baking soda, but exceptions exist.
Wrapping Up the Process
You now have two solid methods—paste for everyday messes and boil for the tough stuff. You know what tools to use and what to avoid. You also have habits that keep the pan happier between deep cleans.
The whole point is simple: clean the pan gently so the non-stick surface keeps doing its job. Baking soda gives you that option without fancy products or harsh chemicals.
Next time your pan looks rough, skip the frustration. Mix up that paste. Give it time. Scrub soft. You’ll be surprised how much better it looks.
And if the pan is truly beyond help? At least you’ll know you gave it a fair shot before heading to the store.
FAQs
Can I use baking soda on every type of non-stick pan?
Most traditional non-stick and many ceramic non-stick pans handle it fine when you scrub gently. Always check the care instructions for your specific pan if you’re unsure.
How often should I deep clean with baking soda?
Whenever you notice buildup or sticking that regular washing doesn’t fix. For heavy use, once a month is reasonable. Light use might need it less often.
Will baking soda scratch my pan?
Not if you use a soft sponge and light pressure. The particles are mild. Hard scrubbing or rough pads cause the real damage.
Can I leave the paste on overnight?
You can, but 30–60 minutes usually does the job. Overnight isn’t necessary for most messes and isn’t ideal for every coating long-term.
What if the stains don’t come off completely?
Some discoloration is permanent once the coating ages. Focus on removing the sticky residue. The pan can still cook well even if it isn’t brand-new shiny.
Is it safe to cook right after cleaning?
Yes. Just rinse thoroughly and dry the pan. A light oil wipe afterward is optional but nice.
There you go. Your non-stick pan doesn’t have to stay a sticky mess. Baking soda gives you a simple, effective way to bring it back. Try it on your worst pan and see the difference. You’ll probably wonder why you waited so long.